Lessons in gardening

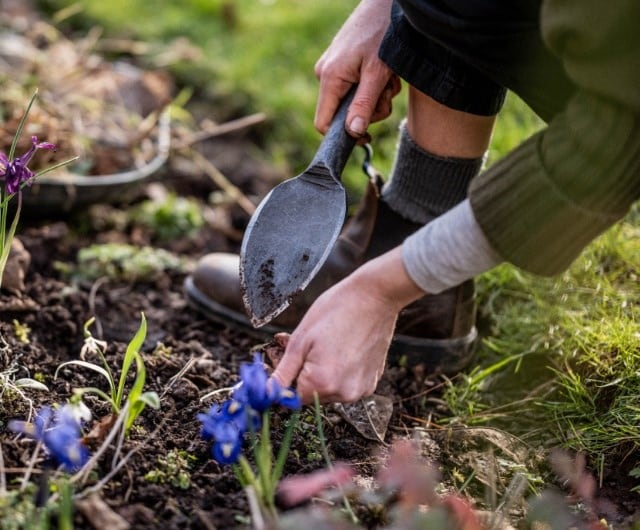
Lesson 5: From box to soil: How to plant

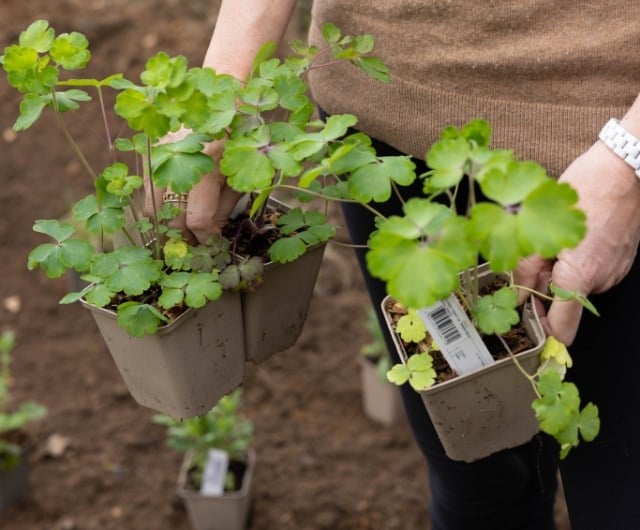
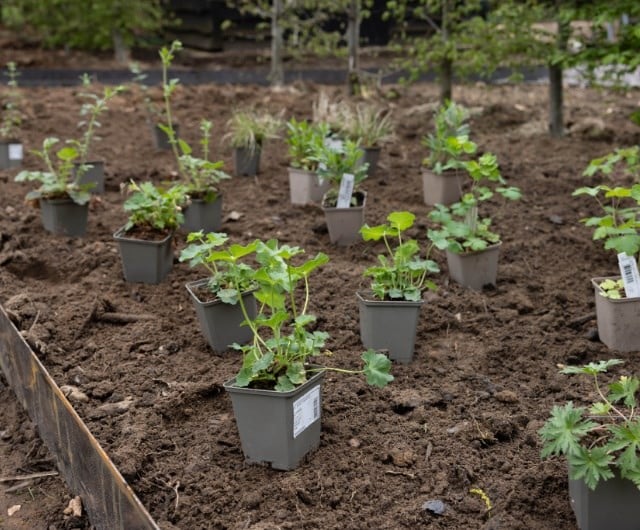
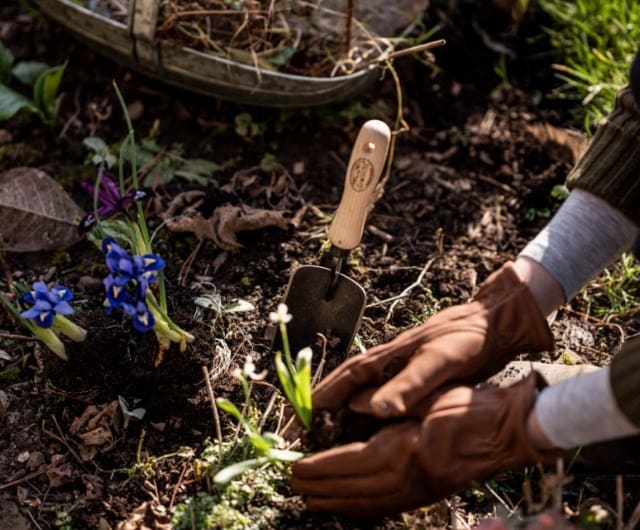
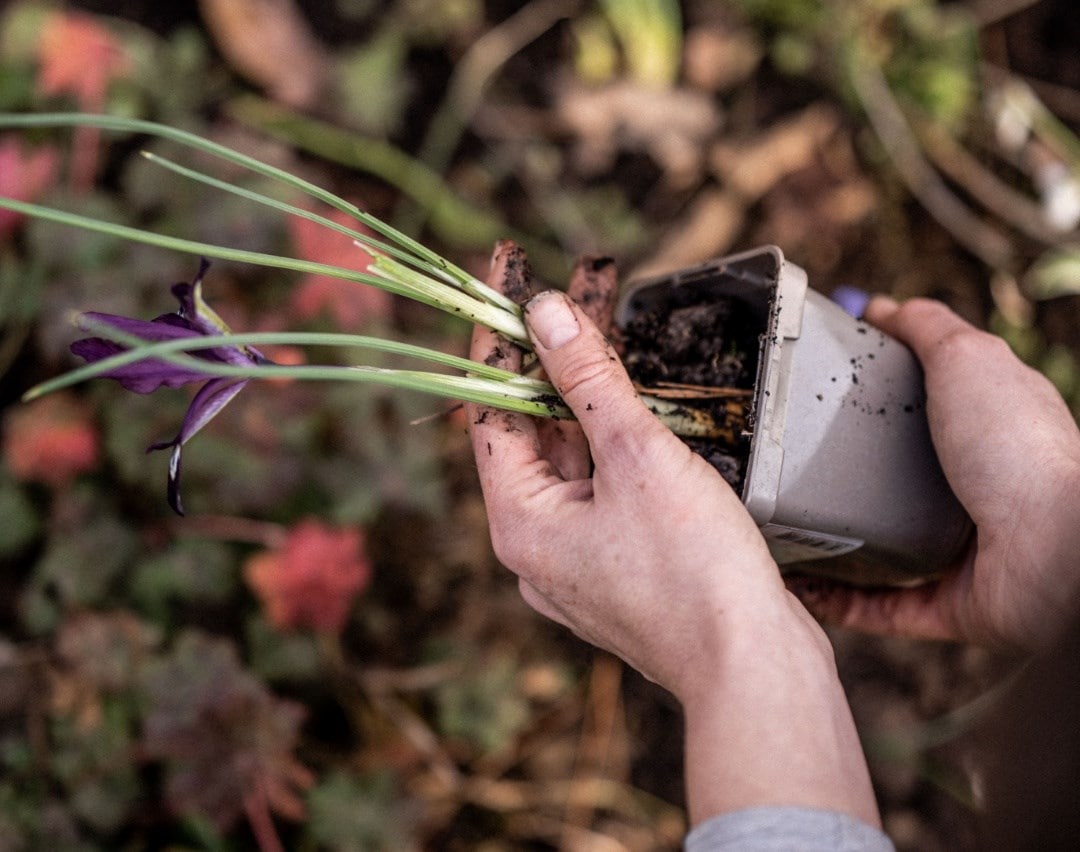
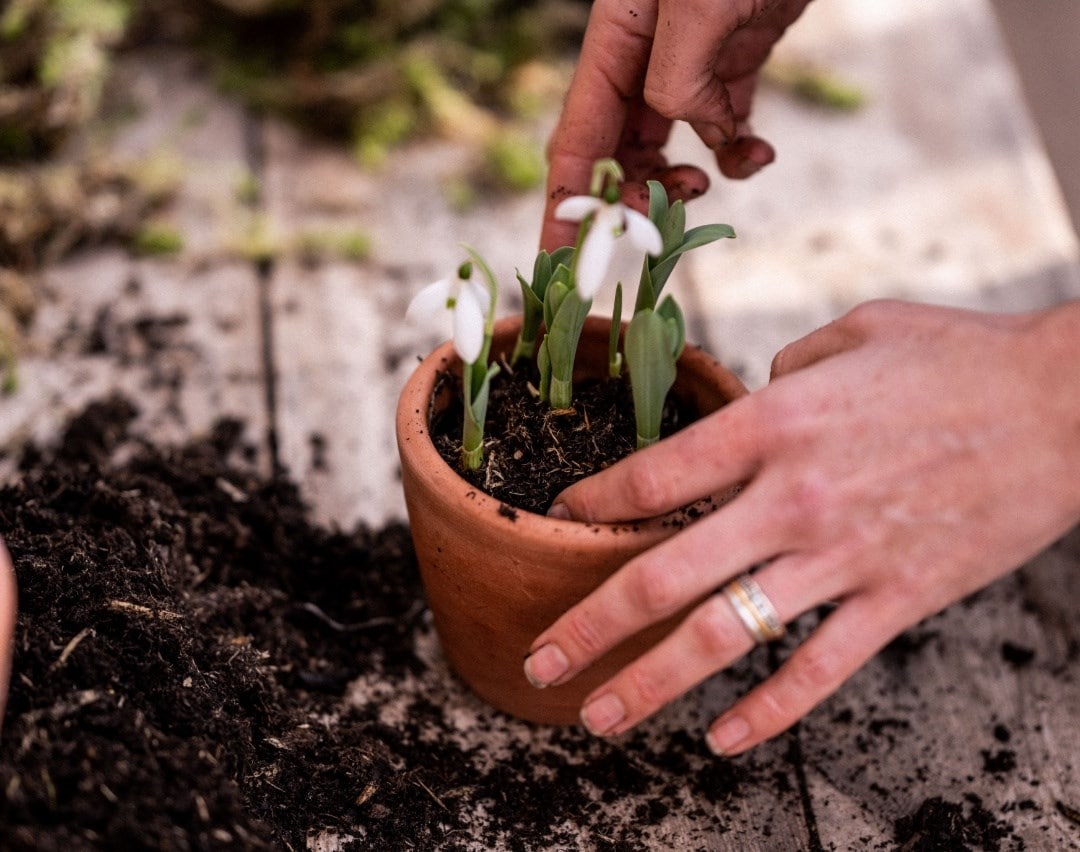
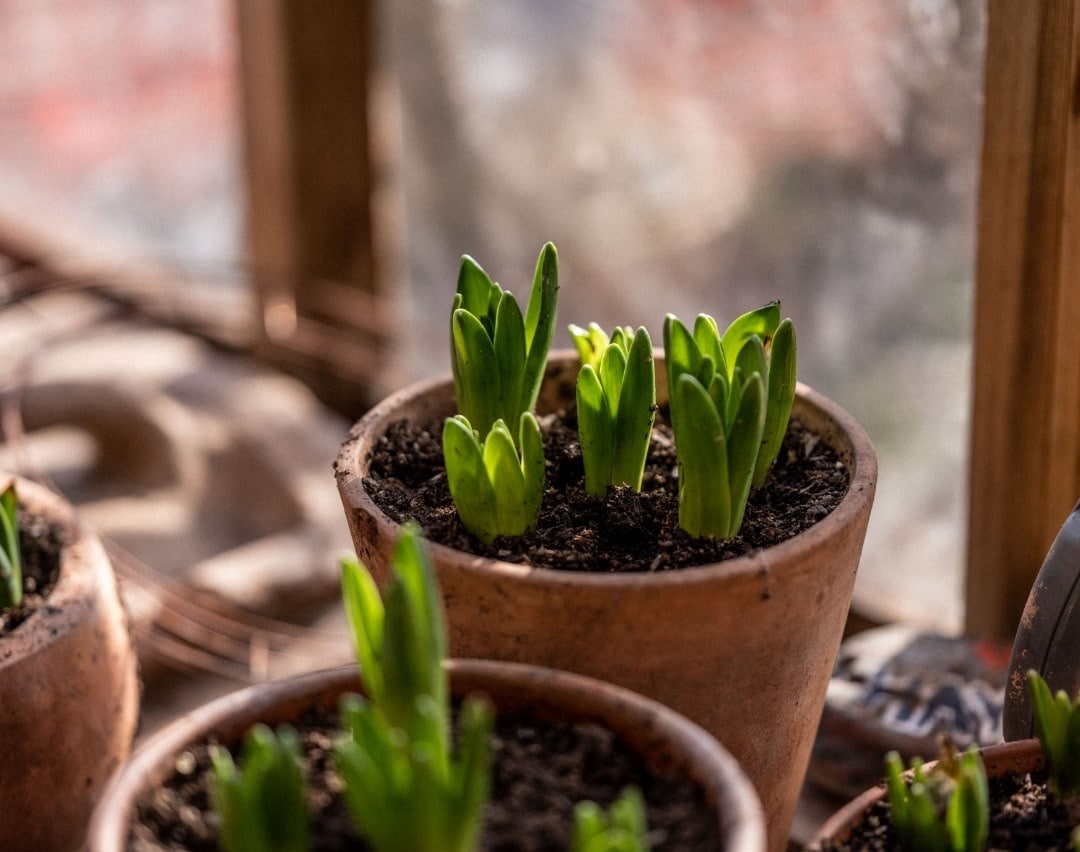
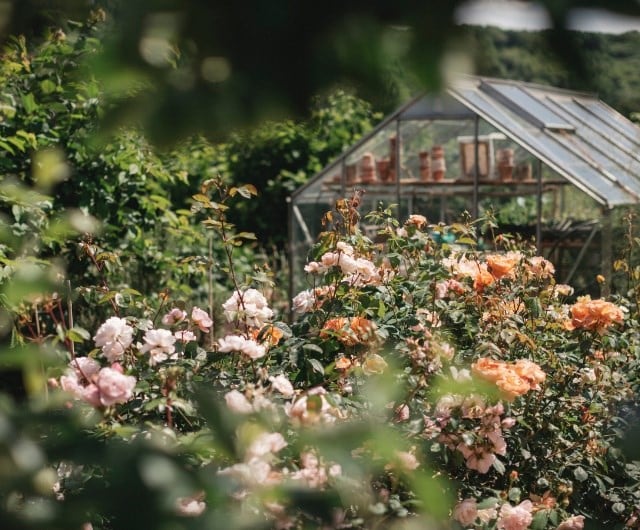
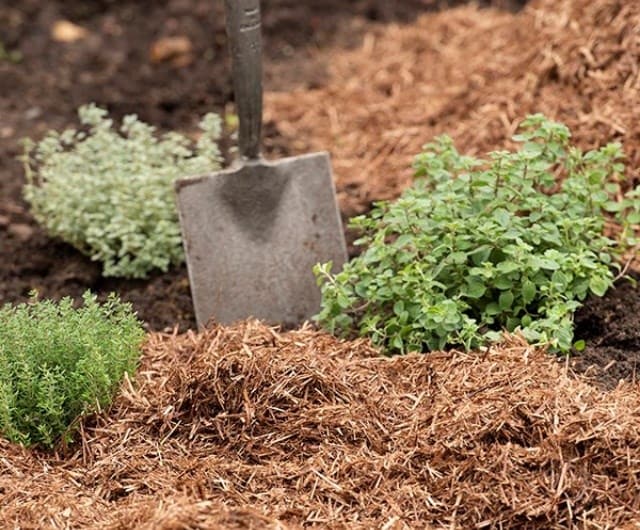
It's always really exciting when your plants arrive and you can start planting them out, but if you take a little time to make sure that they are given the best possible start, it will really pay off in the long term. This week we'll look at how professional gardeners do their planting. We'll share top tips on how to prepare the soil before you plant, how to set out your plants to create fantastic displays, and how to look after them once they're in.

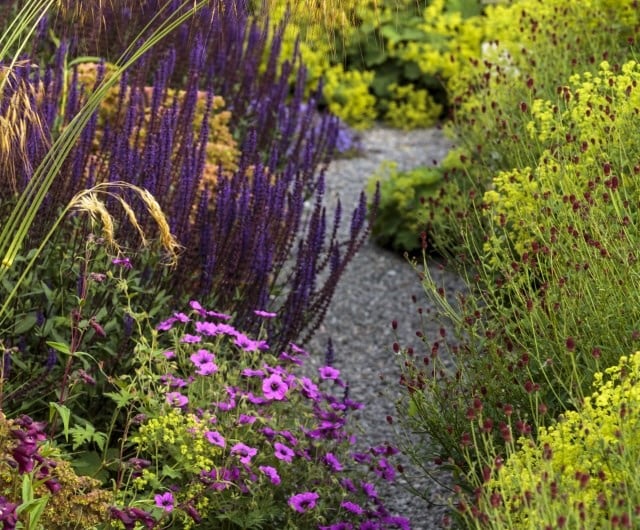
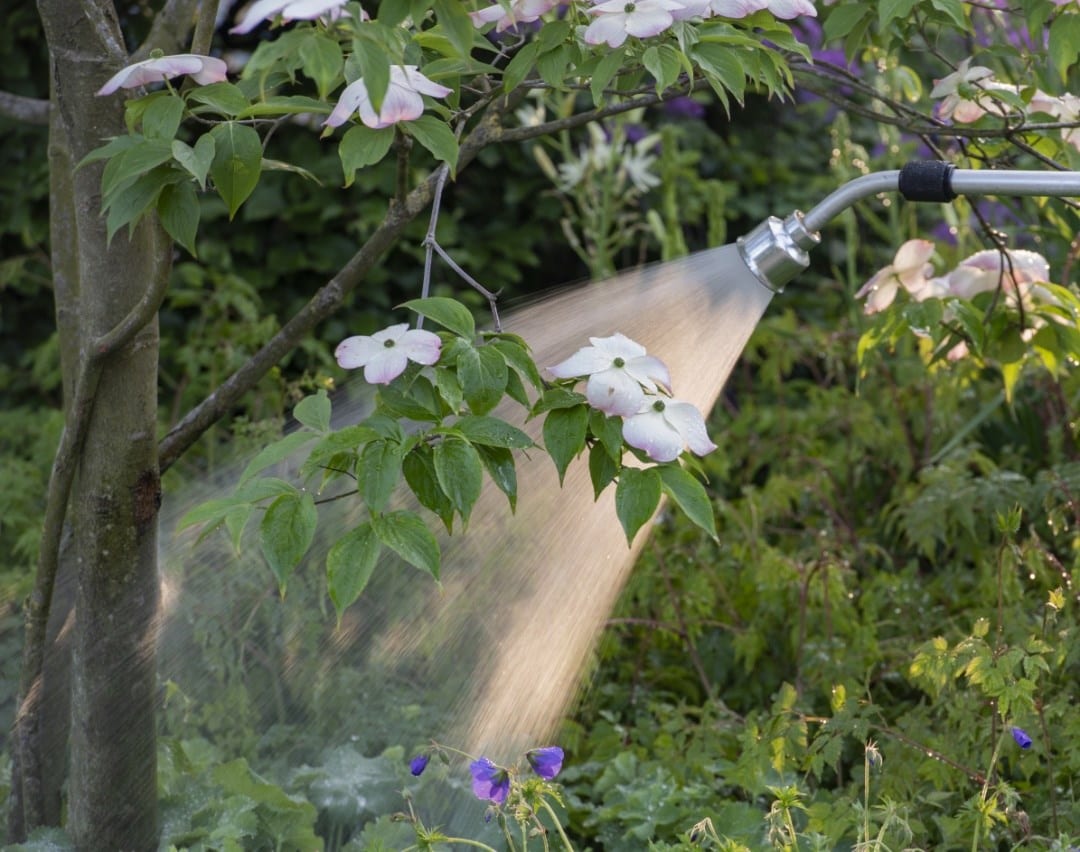
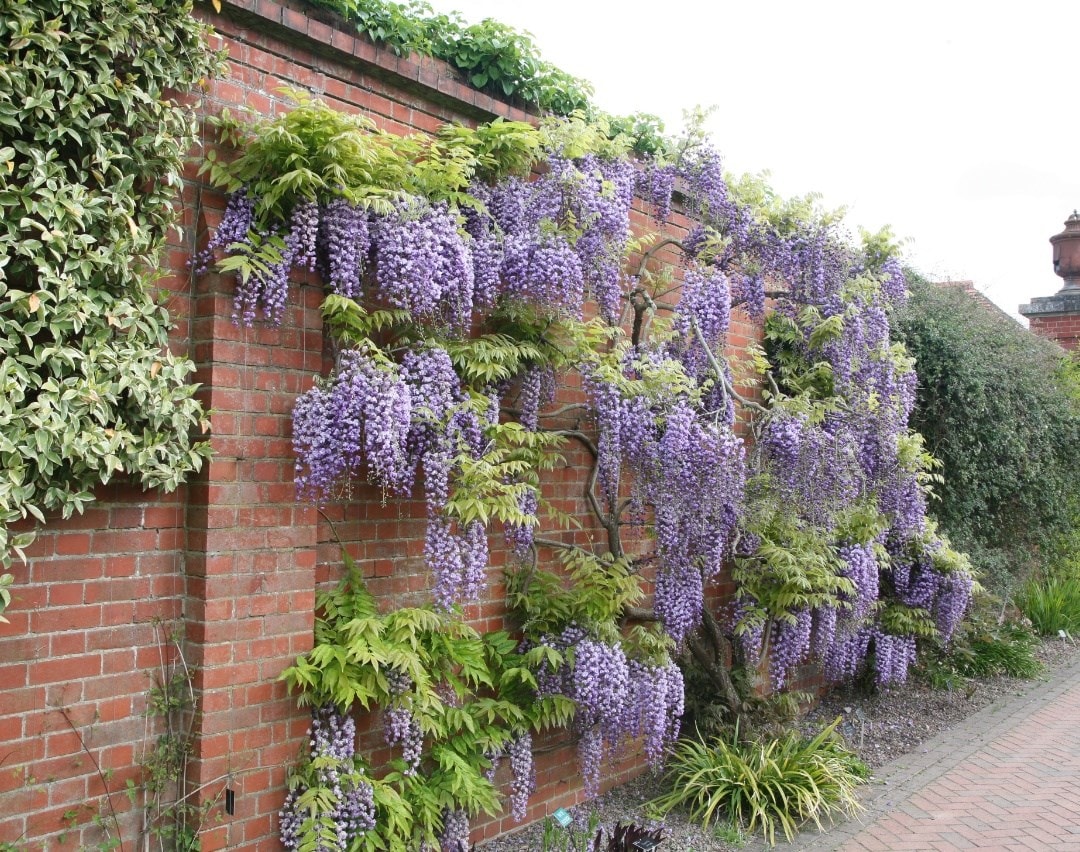
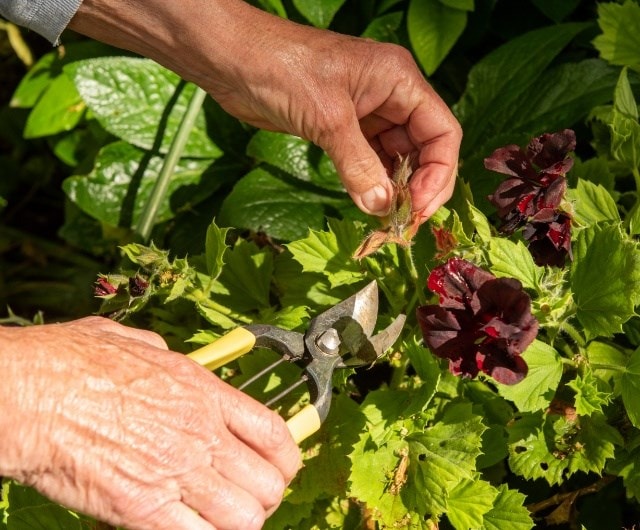
If you make sure that your plants are given the best possible start, it will result in stronger, healthier and more robust plants that will settle in quickly, be less likely to suffer from pests and diseases, and will go on to produce more fruit, flowers or foliage. While planting out may be a simple concept, there are a few basic guidelines that every gardener benefits from knowing - and if they're followed, their new plants will do brilliantly in their new home.

Step 1. Preparing & planting

What to do when your plants arrive

As soon as you can, open the box and remove all the packaging around the plants, and if they need a drink, water them well before allowing the excess to drain away freely. If they can't be planted straight away, place them in a sheltered spot, away from strong winds and bright midday sunshine. While a shed or garage might sound ideal for this, they're usually much too dark, so instead, try to find some lightly dappled shade beneath a tree, a screened porch, or the base of a north or east-facing wall to store them temporarily. Keep them well watered and get them in the ground as soon as you can.

Getting ready to plant

Get your soil in tip top condition

Hopefully you will have prepared your soil well after week 1, but if not, now's the time to get cracking. Good soil is the foundation of healthy plants so before you start to plant, make sure your soil is in five-star condition. Choose a day when the soil is not too wet, then start digging it over with a fork or spade, loosening it up to a depth of 8” or so and removing any weeds, debris, or larger stones that you find. Most soils will benefit from the addition of some fertiliser, so either mix in some granular fertiliser (following the manufacturer's instructions), or apply a topdressing of home-made compost or animal manure before lightly forking it in. Finally rake over the beds to break up any lumps and bumps and create a relatively level surface.

Setting out your plants

Before you start digging any planting holes, think about your planting plan and start placing the plants (pots and all) on top of the soil where you think they should go. While keeping in mind their eventual height and spread, give them enough space to develop without becoming overcrowded - you might be amazed at how much a plant can grow in one season! Also, avoid arranging them strictly by height, with taller plants at the back and shorter ones at the front. Instead, try mixing them up a little to make it more visually interesting. For example, if you're using some tall, airy plants (like ornamental grasses, taller verbenas, gauras or salvias), try to bring some of them towards the front of the border where they'll create a soft, hazy screen. Another technique is to weave your plants through the border, either by creating a ribbon-like effect, or forming triangles that disappear back into the border. Experiment with different layouts until you think you're happy, then walk around the border to view it from different angles. If the placement needs tweaking, now's the time to do it.

Create interest

If, like many, your shed is at the bottom of the garden, the Roman route would be a straight path from your back door to your shed. Adding in some curved lines however will play with the eye line, while giving you the opportunity to form softer border edges - and bring more planting into your space. After all, adding a couple of extra seconds onto your walk to the shed is no bad thing when you have a beautiful garden to enjoy!

A sense of discovery

There's also a lot to be said for not revealing everything all at once. Making the eye work to take in the garden gives a sense of discovery and space that can be achieved even in the smallest of urban spaces.

Getting your hands dirty

Once the plants have been watered, the soil's been prepared and you're happy with the layout of the plants, you're ready to start planting. Dig a hole about twice as wide as the plant's rootball, but don't dig too deeply as the plant will sink as the ground settles. Remove the plant from its pot by gently squeezing the sides of the pot, and while supporting the top of the rootball, tip them up and slip them out. Larger plants can be laid on their side before being gently eased out.

General planting tips

Make sure the levels are right

Gently tease out any roots that are circling around the bottom or sides of the pot, then backfill the planting hole with a little of the excavated soil before popping the plant in. Most plants need to be planted to the same depth as they were in their pot, so if you need help judging the correct level, lay a bamboo cane across the top of the planting hole so that it's lying flat across the surface of the surrounding soil. Use this as a guide to see if your plant needs to sit any higher or lower, and if necessary use a little more (or less) backfill until it looks right. Then, backfill around the sides, gently firming it down (not squishing!) to get rid of any air pockets and make the plant secure.

Give them a drink
Give them a drink

Once your plants are in the ground, they'll need a really good soak. Rather than dribbling the hose on them, it's far better to fill a watering can or bucket with a hose and gently tip the water round the plant. If you have a large area to cover, use a hose or sprinkler, taking the time to make sure that each plant gets a deep, refreshing drink.

Planting on heavy (or clay) soil

Create a larger planting hole, and then break up the base with a garden fork so that water can drain away in wet weather. Adding coarse grit to the bottom of the planting hole, or mixing some coarse grit into the garden soil for backfilling, will also help drainage.

Planting on light (or sandy) soil

Make sure you enrich the soil with organic matter by adding garden compost to the ground and forking it through. This will not only add nutrients, but it will also help with the soil's ability to hold water.

Growing plants in pots

Gardening in small spaces

If you're gardening in a small space and you don't have any borders, then pots offer the perfect solution. Also, as plants grown in pots will never get as big as they would if they were planted in the ground, it really is a win-win formula.

No matter what size your garden, it's also a great way to grow acid-loving plants, such as most Japanese maples, azaleas and rhododendrons if your soil has an alkaline or neutral pH. Just pop them in a pot filled with ericaceous compost and they'll flourish happily.

Loads of plants will do well in pots, but do remember that as their roots can't reach out into the surrounding soil to forage for their own water and nutrients, they'll need some extra care.

Top tips for growing plants in pots

The majority of plants will be happiest in a loam-based potting compost, which tends to hold the water better than peat-based composts. When peat-based compost dries out, it can be really hard to re-wet, so if this happens, add a few drops (no more!) of washing up liquid to a full watering can and slowly water it on - making sure it doesn't just run off the sides. Alternatively place the pot in a deep tray or saucer filled with water, and let the plant gradually soak it up. Keep on topping up the tray until the compost has fully rehydrated.

A wide-based container with straight sides is less likely to topple over in an exposed position.

Standing a pot on pot feet will create better drainage around the plants rootball, and it will also help protect the pot from being damaged by hard frosts in winter.

How to plant in a pot

Partially fill the pot with compost and place the plant on top, checking to see that the finished soil level will be around 1 - 2 inches below the pot's rim. This will ensure that your plants are displayed at their best, but the water (and compost) won't spill out over the edges every time you give them a drink. When the levels are right, fill in around the sides with more compost, gently firming it down as you work your way up. Immediately give the plant a thorough water.

Ongoing care for potted plants

As potted plants dry out faster than those grown in the ground, you'll need to keep them well watered - especially during warmer weather. You'll also need to keep them well fed, and while your choice of fertiliser will depend on what you're growing, for the majority, a spring and summer application of a good, slow-release, general-purpose fertiliser such as Vitax Q4 will do the trick nicely - keeping them topped up with all the essential nutrients they need.

Crocus tip

When you are setting out your plants, placing in oddly numbered clusters (3's, 5's, 7's etc) will always look more natural when creating informal swathes, while even numbers will work well if you want to create symmetry, frame a vista, or add definition to an entrance.

Step 2. Care & maintenance

For the first year or two after planting, you'll need to make sure that the plants are kept really well watered. To water effectively, it is also essential to apply the water in the right place. This means watering only the roots of those plants that need it and not wastefully sprinkling it over the whole garden. Also, it is far better to thoroughly soak the soil around the rootball periodically, rather than taking the ‘little and often' approach. In fact, watering little and often can actually make matters worse, because by only moistening the soil's surface, you'll encourage the formation of shallow roots - and this will make the plants more susceptible to drought later on. Timing is important too, with the best time being early in the evening. Watering late in the day will not only minimise the amount of water lost through evaporation, it will also eliminate any possibility of delicate plants getting scorched. If you can't water late in the day, the next best thing is to water first thing in the morning.

Crocus tip - Waterwise tips for pots

some water-storing crystals

When potting up your plants, mix in some of these and they'll absorb and hold onto water, slowly releasing it to the plants as they need it.

Opt for larger pots

Because they can hold more compost, larger pots tend to need watering less often - and they'll also keep the plant's roots cooler in the heat.

Choose pots that help retain water

Plastic, fibreglass, glazed terracotta or wooden pots tend to lose less water through evaporation. Porous terracotta pots are perfect for Mediterranean-style plants that don't mind getting a little dry once they're established.

image
Do I need to water drought tolerant plants?

When plants are described as being drought tolerant, it usually refers to those that are well established - so even 'drought tolerant' plants will need regular watering in their first year.

image
Learn about the plants in your garden

Once your plants are in the ground, spend some time learning about their likes and dislikes, because they'll all need different care at different times of the year. Whether it's a general tidy, pinching off the faded flowers, giving them a feed or carrying out some formative pruning, a little well-timed tlc will work wonders. If you can, make a few notes in your diary as a reminder.

image
Feeding

As we've already discussed, watering is the first priority, but as plants draw nutrients from the soil, these need to be replaced, so regular feeding is also important. There is a huge range of fertilisers available, some you dilute in a watering can and other you apply to the soil so choose whatever is easiest for you. If you have your own compost bin, or have made some leaf mould, then an application in spring or autumn will work wonders - adding nutrients as well as helping to improve its structure.

image
Mulching

Covering the soil around your plants with a generous layer of composted organic matter is one of the best things you can do for your borders. Not only does it help conserve moisture and regulate soil temperatures, but it will also reduce weed growth and damage from slugs and snails - all while improving the soil structure and supplying your plants with a steady supply of nutrients.

image
Pruning

This will vary from plant to plant and while some require little (if any) pruning, others may need a short crop at certain times of the year - and this is where your research will really pay off. Whatever you prune however, the golden rule is to remove the 3 D's (anything dead, damaged or diseased), and when pruning woody-stemmed plants, remove any branches that are crossing or causing congestion.

image
Deadheading

Pinching off any flowers that are past their best is a quick and easy way to keep the display looking fresh. It will also encourage many plants to produce even more flowers, which is why gardeners use this technique to prolong the flowering season. If you are growing hardy annuals, do leave a few flowers intact toward the end of summer so they can set seed. Once ripened, these can then be sown again for the following year's display.

Staking trees

New trees may need to be staked - particularly if they are planted in an exposed position and will be vulnerable to wind-rock. To avoid damaging the rootball, ideally this should be done when they're being planted, positioning the stake upwind from the tree's stem. Secure it with a soft tree tie, tethered lower down the stem in a figure of eight. That way, it won't damage the bark, but will allow for some movement for the top growth. Check the tie regularly to see if it needs to be loosened, and remove the stake when the tree is well established.

Crocus tip: How to cope with hot summers

Watering is the number one priority for your newly planted garden, but with busy lifestyles and summer heat waves, it's not always possible to water as much as we'd like. We have 3 tips your can follow that will help safeguard your plants against drought.

1. Make sure your soil contains plenty of organic matter>

Digging in lots of compost, manure, soil improver or conditioner will not only boost your soil's essential nutrients, but it will also help lock in the water.

2. Apply a generous layer of mulch>

By creating a natural barrier on the surface of the soil, mulches help reduce weeds, reduce water evaporation and keep temperatures around the plants rootball stable. They'll also help reduce slug and snail damage.

3. Install a soaker hose or automatic irrigation system

Save time and energy on manual watering by weaving a soaker hose through your borders, or set up an irrigation system and link it to a timer that's attached to your tap. If you're caught up at the office, or lying on a sun-lounger in Barbados, the garden will still get watered!

Share your progress

This is the fun bit: getting ready to plant. This week we encourage you to share pictures of your progress - how you are laying out your plants, your newly planted borders or pots. Make use of the Lesson in Gardening community and our resident Plant Doctors on hand to answer any questions you may have.

Share your progress in the Lessons in Gardening group, on our FREE app Iris. Our Plant Doctors are also on hand every day to impart their gardening advice and to answer your questions.

Share progress

Copyright © Crocus.co.uk Ltd 2024. All rights reserved.